C#/C# 프로그래밍/
C# tesseract를 이용한 OCR
2019. 10. 1.
2019/10/01 - [프로그래밍/C# 프로그래밍] - C# tesseract 설치
tesseract 설치는 링크참조
프로젝트를 만들어 줍시다.
저는 ocrtest라고 만들었습니다.

위 그림과 같이 picturebox, textbox, button3개를 추가해줍니다
using문 추가
using Tesseract;
버튼1 클릭 이벤트 추가
		private void Button1_Click(object sender, EventArgs e)
        {
            string imgfile = string.Empty;

            OpenFileDialog dialog = new OpenFileDialog();
            dialog.InitialDirectory = @"C:\";

            if (dialog.ShowDialog() == DialogResult.OK)
            {
                imgfile = dialog.FileName;
            }

            try
            {
                bmp = new Bitmap(imgfile);

                pictureBox1.Image = bmp;
            }
            catch { }
        }
버튼1 클릭 이벤트는 그림파일을 열어서
picturebox1에 띄워주는 소스입니다.
버튼2 클릭 이벤트 추가
private void Button2_Click(object sender, EventArgs e)
{
for (int i = 0; i < bmp.Width; i++)
{
for (int j = 0; j < bmp.Height; j++)
{
Color c = bmp.GetPixel(i, j);
int binary = (c.R + c.G + c.B) / 3;
if (binary > 200)
bmp.SetPixel(i, j, Color.Black);
else
bmp.SetPixel(i, j, Color.White);
}
}
pictureBox1.Image = bmp;
}
for문을 이용한 간단한 binary소스입니다.
버튼3 클릭 이벤트 추가
		private void Button3_Click(object sender, EventArgs e)
        {
            Pix pix = PixConverter.ToPix(bmp);

            var engine = new TesseractEngine(@"./tessdata", "eng", EngineMode.TesseractAndCube);
            //string whitelist = "ABCDEFGHIJKLMNOPQRSTUVWXYZ";
            //화이트리스트 사용할시 화이트리스트 목록
            //engine.SetVariable("tessedit_char_whitelist", whitelist);
            //화이트리스트 적용

            var result = engine.Process(pix);

            textBox1.Text = result.GetText();
        }
tesseract를 이용하여 문자인식하는 소스입니다.
디버깅 하고 테스트해봅시다
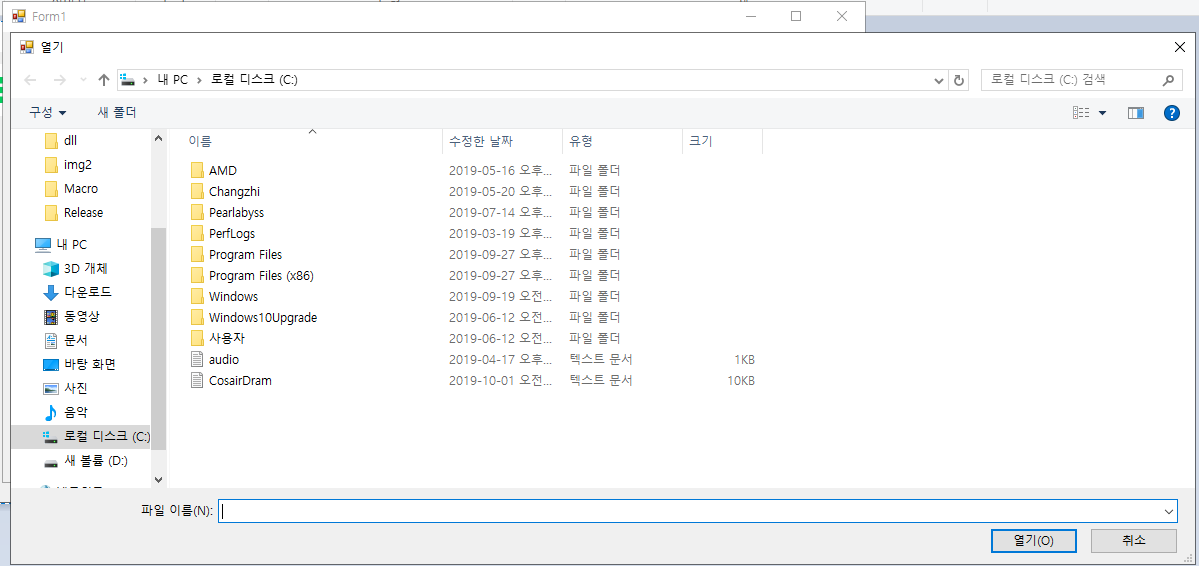
버튼1을 눌러 파일을 불러옵니다.
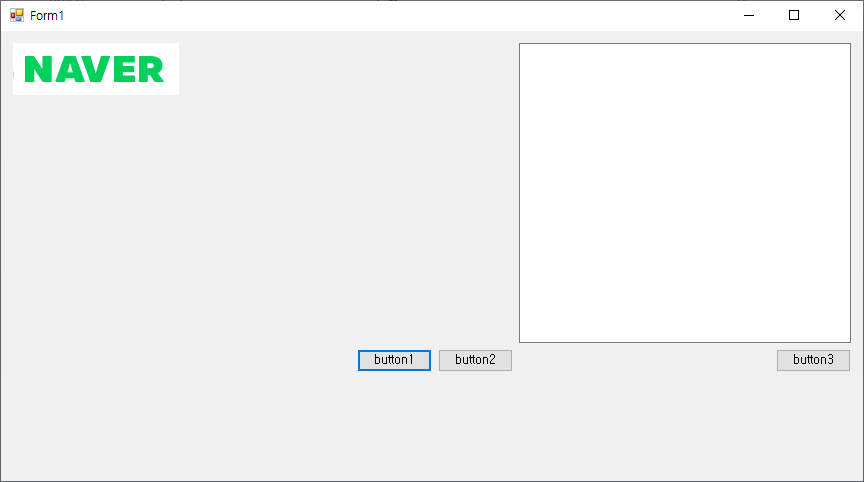
저는 포털사이트의 로고를 캡처해서 사용했습니다.
버튼 2를 누르면

이진화가 됩니다.
이제 버튼3을 누르면

잘 작동하는군요.
전체코드
더보기
using System;
using System.Drawing;
using System.Windows.Forms;
using Tesseract;
namespace ocrtest
{
public partial class Form1 : Form
{
Bitmap bmp;
public Form1()
{
InitializeComponent();
}
private void Button1_Click(object sender, EventArgs e)
{
string imgfile = string.Empty;
OpenFileDialog dialog = new OpenFileDialog();
dialog.InitialDirectory = @"C:\";
if (dialog.ShowDialog() == DialogResult.OK)
{
imgfile = dialog.FileName;
}
try
{
bmp = new Bitmap(imgfile);
pictureBox1.Image = bmp;
}
catch { }
}
private void Button2_Click(object sender, EventArgs e)
{
for (int i = 0; i < bmp.Width; i++)
{
for (int j = 0; j < bmp.Height; j++)
{
Color c = bmp.GetPixel(i, j);
int binary = (c.R + c.G + c.B) / 3;
if (binary > 200)
bmp.SetPixel(i, j, Color.Black);
else
bmp.SetPixel(i, j, Color.White);
}
}
pictureBox1.Image = bmp;
}
private void Button3_Click(object sender, EventArgs e)
{
Pix pix = PixConverter.ToPix(bmp);
var engine = new TesseractEngine(@"./tessdata", "eng", EngineMode.TesseractAndCube);
//string whitelist = "ABCDEFGHIJKLMNOPQRSTUVWXYZ";
//화이트리스트 사용할시 화이트리스트 목록
//engine.SetVariable("tessedit_char_whitelist", whitelist);
//화이트리스트 적용
var result = engine.Process(pix);
textBox1.Text = result.GetText();
}
}
}